Calisteniapp / Handstand by strength
Handstand by strength: your step-by-step plan.
Program to take the climb to a pin by force, without launching yourself with momentum. In this program we will work with the method of routines of the traditional type, unlike the other program in the app in which we use the method of clusters. The main idea is to get your shoulders strong and master the handstand balance, so that you can do it without pushing yourself. This will be very useful for you to do a handstand in parallel or in places other than the ground and to be able to control it much more, without depending so much on your precision in the momentum.
Available in Calisteniapp for iOS and Android.
Explore my path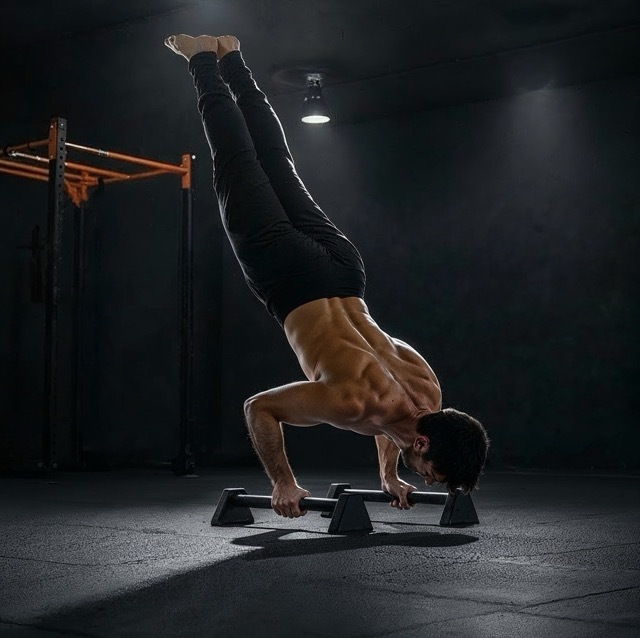
Objective
Manage to do a handstand by force, rising from the frogstand position.
- Frequence
- See program guidance
- First session duration
- 31 min
- Program
- 23 estimated weeks
01 / Requirements
Required prerequisites
- × 15 Push-ups
- 10" Wall assisted handstand
Necessary equipment
For this program you will need Box.
02 / Program
Build your path.
Each phase prepares you for the next. Weeks are a guide: repeat a phase when you need more practice before moving on.
Week 1–2Strengthening for beginner level 0
What you will practise
Only for beginners who are not yet able to do specific shoulder exercises or who are starting from a very basic level. In this phase you will prepare your general pushing strength so that you can later progress toward more specific handstand work. The focus is on building a solid base in the chest, triceps, front deltoids, and core through basic horizontal pushing patterns. Decline push-ups begin to shift a bit more load toward the shoulders, while Isometric push-ups teach you to maintain body tension and scapular stability, something very important later on for transferring strength to inverted work.
Week 3–4Basic strengthening
What you will practise
This phase is for people who need specific pushing strength work before seriously starting with handstand and assisted handstand exercises. It is a highly recommended phase for beginners, because here you begin to direct your strength toward the vertical pushing pattern you will need for the strength press. Pike push-ups will be one of the key movements: they shift the work toward the shoulders and triceps and teach you to push with the torso in a more vertical position. In addition, the Wall assisted handstand and Frogstand introduce load on the hands for the first time in an inverted or nearly inverted position, improving basic balance, body awareness, and wrist and shoulder tolerance.
Week 5–7Specific strengthening
What you will practise
In this phase we will specifically strengthen the shoulders so that you are prepared to master the free Handstand and build a good base before working more deeply on the strength press. Intermediate-level exercises now appear, and the focus clearly shifts to vertical pushing. Assisted short handstand push-ups are the main progression: they teach you to produce force at the most relevant angle for the strength press, while the Wall assisted handstand reinforces inverted alignment and shoulder endurance. Pike push-ups and Decline push-ups continue adding useful volume for the deltoids, triceps, and upper chest.
Week 8–10Free handstand practice
What you will practise
In this phase we will continue strengthening the shoulders and, in addition, make sure that you have good control of the free Handstand. The first exercise in several sessions now becomes the Handstand, and you should use it as technical balance practice every time you train. The goal is not only to hold for a few seconds, but to learn to enter with control, correct with the fingers, and maintain a stable line. At the same time, Assisted handstand push-ups and Assisted short handstand push-ups continue developing the specific vertical pushing strength you will need to press up without momentum.
Week 11–14First attempts
What you will practise
In this phase we are going to start trying the strength press movement. The idea is for you to achieve at least one valid repetition of Frog to handstand. Try to press up from the Frogstand position, opening the legs as you rise to make weight distribution easier and create a more stable transition. Once at the top, try to hold the Handstand for at least 5 seconds for it to count. This work already combines balance, compression, vertical pushing, and coordination between shoulders and core very clearly.
Week 15–18Handstand by strength consolidation
What you will practise
In this phase we will try to make sure you can already perform the strength press into Handstand more comfortably, even for several repetitions. To do that, you must control not only the way up, but also the way down. That is why Handstand push-ups appear, as they will help you develop eccentric strength and control in the reverse path. Learning to descend with control greatly improves your sense of balance, shoulder positioning, and your ability to repeat Frog to handstand without depending on a rushed movement.
Week 19–23Rise from tucked or "dwarf"
What you will practise
In this phase we are going to learn to press into Handstand not only from Frogstand, but also from the position known as dwarf, which consists of a tucked planche with the elbows bent. It is the most demanding phase of the program and requires a high combination of shoulder, triceps, serratus, core, and compression strength, as well as fine technical control to shift the weight forward and turn it into vertical pushing. The key progression here is Tucked handstand with flexed arms, which forces you to generate strength from a very closed and demanding position.
Estimated end of the plan
Choose a valid date to preview your plan.
This date reflects the planned duration, not a guaranteed date for completing Handstand by strength. Your progress may take additional weeks.
03 / Calisteniapp
Your first session, step by step.
Here is the first session of the program, so you have a reference for how the sessions are structured.
Estimated duration of 31 min depending on the rest periods you choose. Sets and reps are a reference: adjust them to your level.
The exercises you will discover.
Every movement that appears at least once across the program.
 Decline push-ups
 Push-ups
 Incline push-ups
 Isometric push-ups
 Isometric push-ups
 Knee push-ups
 Incline push-ups level 0
 Plank
Plank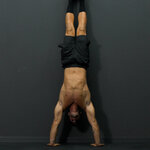 Wall assisted handstand
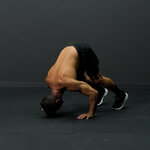 Pike push-ups
 Frogstand
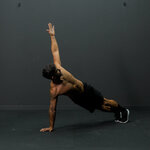 T push-ups
 Bench dips
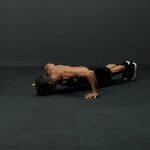 Wide grip push-ups
 Diamond push-ups
 Assisted short handstand push-ups
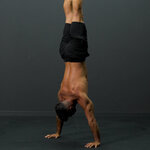 Handstand
 Assisted handstand push-ups
 Frog to handstand
 Hindu push-ups
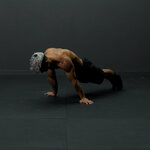 Planche lean
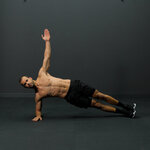 Side plank
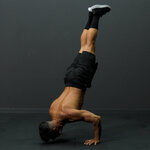 Handstand push-ups
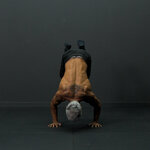 Tucked handstand with flexed arms
 One arm push-ups
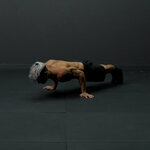 Planche lean push-ups
Understand the reason behind each step.
- This program is designed to be done twice a week, with an extra routine in each phase in case you want to do a third session.
- Use medium-long rest times of between 1'30” and 3', depending on how difficult the routine is for you.
They train with Calisteniapp.
App reviews already published on our website. These are not specific to this program.
The best. I've been on the pro plan for two years and have achieved excellent results. Resistance, strength, skill, and aesthetics, I've obtained it all thanks to the guidance of this app on this beautiful calisthenics journey.
If the free option is already great, the pro option has to be amazing. I'm super happy. I'm a beginner, a very beginner, and really everything is simple, the exercises can be done anywhere without equipment, and it's helping me a lot.
From “one day” to your first session.
Download Calisteniapp on your phone.
Find Handstand by strength and check its access options.
Review the terms shown in the app and start the first phase.
If the app offers you a 7-day trial, check the subsequent price, billing period, renewal and cancellation before activating it. Availability and terms are those shown in your account and store.
Before you start.
Is it mandatory to do the reinforcement routine?
No, only if you want to add an extra day of training or if you notice that you are stuck and need extra work.
What rest times to use?
We recommend using intermediate breaks of between 1'30" and 3'. If in any phase you find it difficult to advance and feel stuck, you can try using longer rest times to try to complete it.
What requirements must I meet to be able to do this program?
The first phase is adapted for beginners, so you only need to be able to do push-ups with ease. It would also be recommended that you be able to do a handstand against the wall, although you can learn this during the program.
Every step counts.
Start with preparation. Follow the path. Give your progress time.
Available in Calisteniapp for iOS and Android.