Calisteniapp / One arm front lever
One arm front lever: your step-by-step plan.
The one-armed front lever is an advanced level tension exercise, requiring great strength from the lats and the shoulder joint in general. Through this training plan, you will be able to remove this element of tension. Program created in collaboration with Aythami González.
Available in Calisteniapp for iOS and Android.
Explore my path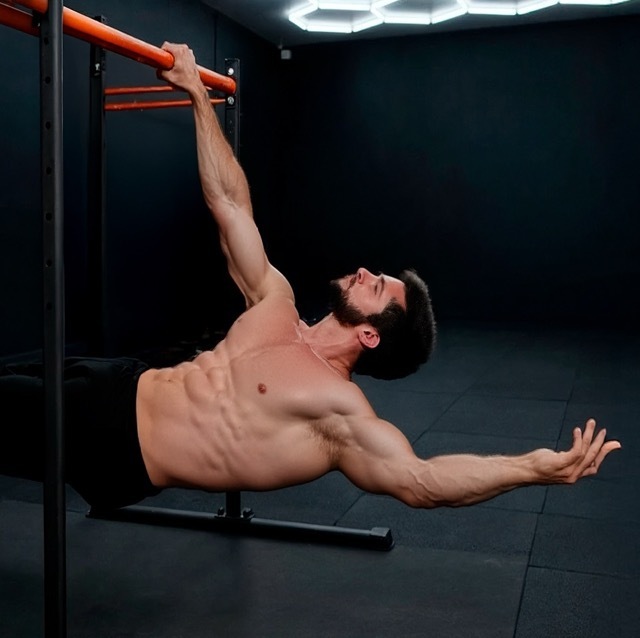
Objective
Being able to do at least 5" of front leverage with one hand.
- Frequence
- See program guidance
- First session duration
- 35 min
- Program
- 18 estimated weeks
01 / Requirements
Required prerequisites
- 10" Front lever
Necessary equipment
For this program you will need Pull up bar.
02 / Program
Build your path.
Each phase prepares you for the next. Weeks are a guide: repeat a phase when you need more practice before moving on.
Week 1–3Front lever reinforcement and unilateral familiarization
What you will practise
In this phase, you build the real foundation that all the later work will rely on. The goal is not only to hold the Front lever well, but also to start distributing the load unilaterally without losing body alignment. The Front lever and Half front lever isometrics help you consolidate overall tension, while progressions such as Wrist assisted one arm tucked front lever with and Diagonal front lever teach you to tolerate strength asymmetries in a controlled way. Here, the latissimus dorsi, teres major, rhomboids, posterior deltoid, deep core, and scapular muscles work very intensely, especially in the horizontal pulling pattern with straight arms.
Week 4–6One arm front lever familiarization
What you will practise
In this phase, you begin to truly familiarize yourself with the specific One arm front lever movement. Wrist assistance allows you to get very close to the final pattern without yet demanding a full load on one side, and the One arm tucked front lever progression begins to develop coordination, scapular stability, and the ability to keep the pelvis and trunk firm while one part of the body compensates more than the other. In addition, Archer pull-ups and Asymmetric pull-ups reinforce the unilateral pulling pattern, which is very useful for improving transfer to the final element.
Week 7–10Increased difficulty in progressions
What you will practise
In this phase, you clearly increase the difficulty by reducing assistance and increasing the total training volume. Moving to Elbow assisted one arm front lever means the main arm has to produce much more force, since the support offers less mechanical advantage than in previous phases. Added to this are Negative front lever, which are an excellent tool for developing specific strength in the most demanding range, and Dragon flag variations, which reinforce the ability to maintain a rigid body line under tension. The work remains focused on the lats, scapular muscles, teres major, the biceps as a synergist, and a very active core, especially in anti-extension and rotation control.
Week 11–14One arm front lever preliminary
What you will practise
This phase is the direct lead-in to the One arm front lever. Shoulder assistance places you very close to the final version, because it further reduces external help and forces the main arm to stabilize almost the entire lever. The blocks of One arm tucked front lever with longer holds consolidate that ability to sustain unilateral tension, while including Front lever and Advanced tucked front lever pull-ups again helps you avoid losing bilateral strength or specific power in straight-arm pulling. There is also more explosive and unilateral complementary work here with Explosive pull-ups, Typewriter pull-ups, and Headbangers, which is useful for reinforcing the shoulders, lats, biceps, and control of lateral displacement under fatigue.
Week 15–18One arm front lever
What you will practise
In this phase, you begin real One arm front lever attempts at the start of the session, when you are fresh and can give your best technical effort. The goal is no longer only to prepare the movement, but to learn to express it through quality repetitions or seconds. The One arm tucked front lever and One arm tucked front lever raises progressions continue to play a key role in accumulating specific volume without always reaching the limit, while Diagonal front lever and the complementary pulling work help you maintain the base strength and scapular stability needed to keep improving. The main emphasis falls on the lats, the shoulder in extension, the interscapular muscles, and a very strong core capable of preventing rotation, hip flexion, and loss of line.
Estimated end of the plan
Choose a valid date to preview your plan.
This date reflects the planned duration, not a guaranteed date for completing One arm front lever. Your progress may take additional weeks.
03 / Calisteniapp
Your first session, step by step.
Here is the first session of the program, so you have a reference for how the sessions are structured.
Estimated duration of 35 min depending on the rest periods you choose. Sets and reps are a reference: adjust them to your level.
The exercises you will discover.
Every movement that appears at least once across the program.
 Front lever
 Wrist assisted one arm tucked front lever with
 One arm tucked front lever raises
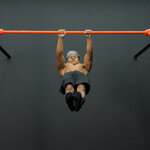 Diagonal front lever
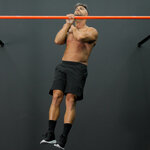 Wrist-assisted one arm pull-ups
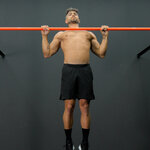 Wide grip pull-ups
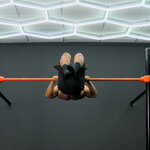 Advanced tucked front lever pull-ups
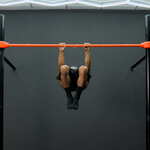 Half front lever
 Advanced tucked front lever
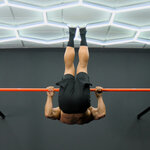 Rowing in bar
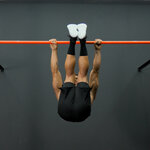 Leg raises
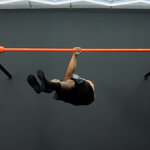 One arm front lever
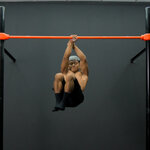 Wrist assisted one arm tucked front lever raises
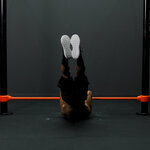 Dragon flag raises
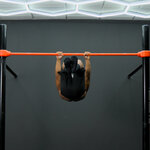 Advanced tucked front lever elevations
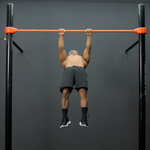 Scapular retractions with elevation
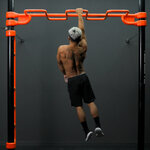 One arm scapular retraction
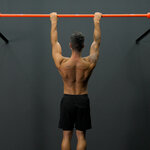 Scapular retraction
 Front lever row to pike and negative
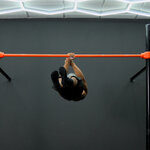 Wrist assisted one arm front lever
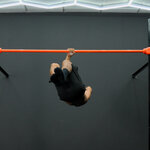 One arm tucked front lever
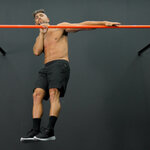 Archer pull-ups
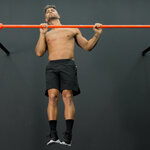 Asymmetric pull-ups
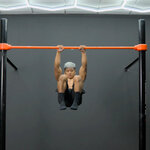 Advanced fallen tucked front lever
 L sit raises on parallel bars
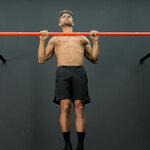 Prone pull-ups
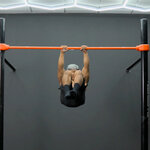 Fallen tucked front lever
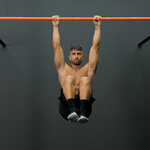 Bar knee raises
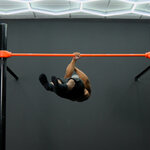 Elbow assisted one arm front lever
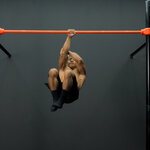 Elbow assisted one arm tucked front lever raises
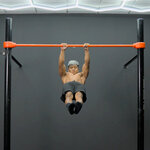 Negative front lever
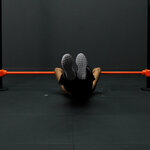 Dragon flag
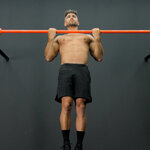 Supine pull-ups
 Australian pull-ups
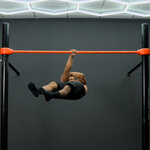 Shoulder assisted one arm front lever
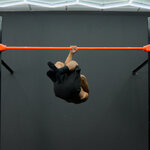 Shoulder assisted one arm tucked front lever raises
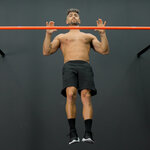 Explosive pull-ups
 Muscle up
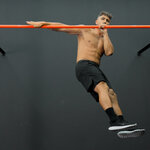 Typewriter pull-ups
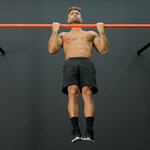 Headbangers
Understand the reason behind each step.
- This exercise and its progressions put the shoulder joint to the limit, so remember to always warm up well. In phase 1 you have a warm-up example in case you need a guide.
- The plan is designed to be done twice a week, with an extra routine in case you want to do a third session.
- In unilateral exercises, remember to do the number of repetitions or seconds with each arm.
- Use rest times between medium and long, from 1'30” to 4' depending on how difficult the routine is for you. If you notice that you are not progressing in any of the phases, increase the rest time.
They train with Calisteniapp.
App reviews already published on our website. These are not specific to this program.
The best. I've been on the pro plan for two years and have achieved excellent results. Resistance, strength, skill, and aesthetics, I've obtained it all thanks to the guidance of this app on this beautiful calisthenics journey.
If the free option is already great, the pro option has to be amazing. I'm super happy. I'm a beginner, a very beginner, and really everything is simple, the exercises can be done anywhere without equipment, and it's helping me a lot.
From “one day” to your first session.
Download Calisteniapp on your phone.
Find One arm front lever and check its access options.
Review the terms shown in the app and start the first phase.
If the app offers you a 7-day trial, check the subsequent price, billing period, renewal and cancellation before activating it. Availability and terms are those shown in your account and store.
Before you start.
Is it mandatory to do the reinforcement routine?
No, only if you want to add an extra day of training or if you notice that you are stuck and need extra work.
What rest times to use?
We recommend using intermediate breaks of between 1'30" and 4'. If in any phase you find it difficult to advance and feel stuck, you can try using longer rest times to try to complete it.
What requirements must I meet to be able to do this program?
We recommend that only those who already have a good level in Front Lever do this program, minimum 10 seconds.
Every step counts.
Start with preparation. Follow the path. Give your progress time.
Available in Calisteniapp for iOS and Android.