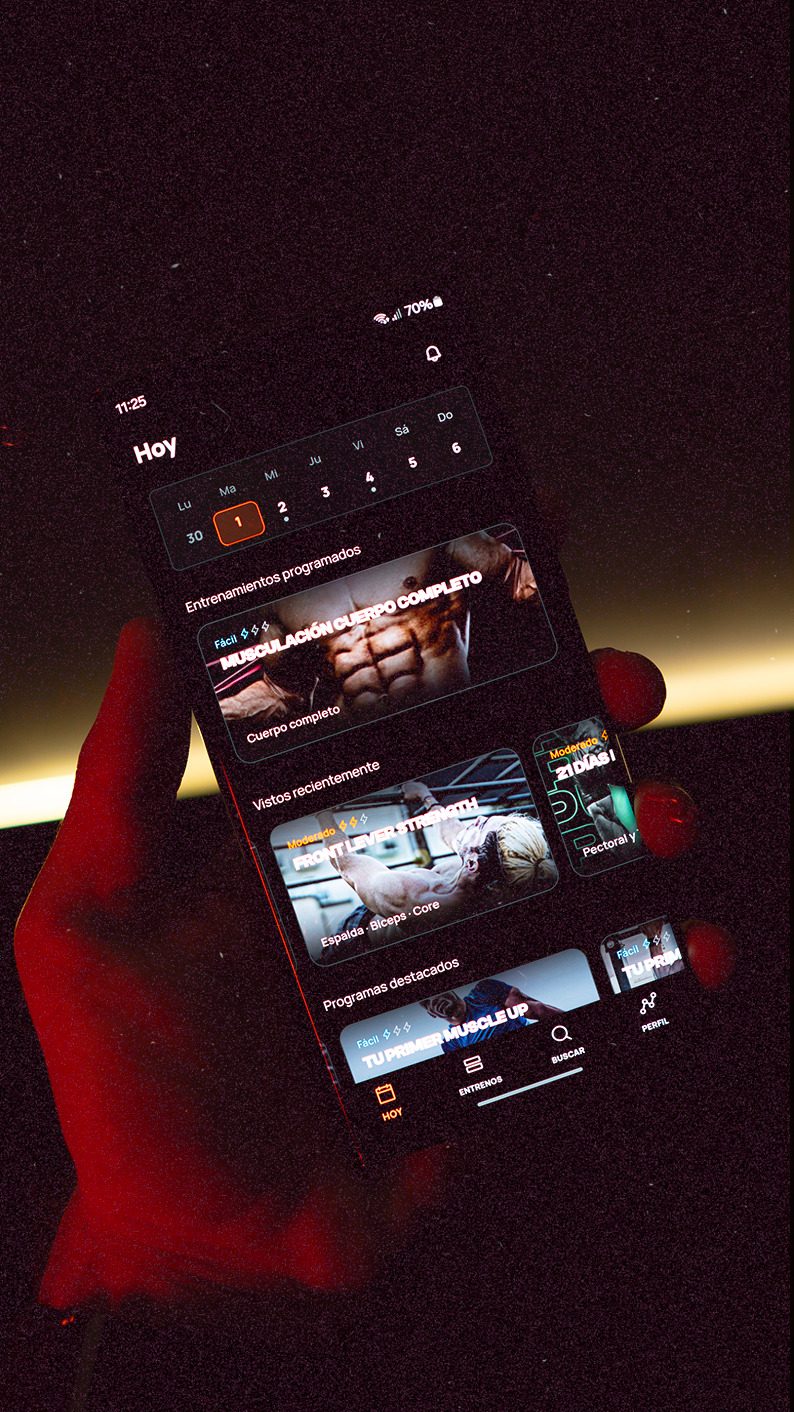
Calorie Deficit: What It Is and How to Calculate It If You Train Calisthenics
Discover what a calorie deficit is, how to calculate it based on your activity level, and how to apply it if you train calisthenics to lose fat without losing muscle.

Recently, the entire Calisteniapp team got together in person in Lanzarote to plan all the exciting updates coming in the next versions of the app. While we were all together, we came up with a challenge related to the handstand.
Since we all train, but several team members still haven’t mastered this skill, we decided I would run a one-afternoon handstand workshop to see if they could noticeably improve their level. The results were really good, so in this article I’d like to share what I taught them so you can apply it to your own training.
First, let’s take a look at where each participant was starting from:

After warming up, we moved on to figuring out how each team member could improve with just one afternoon of focused training.
In Alberto’s case, the key was learning to trust the strength in his arms when going into the handstand. That meant leaning his torso forward before launching up and avoiding locking out his elbows completely.
Even though it might sound counterintuitive, when you're learning to balance in a handstand, it’s actually better not to fully lock your elbows. That way, you can use the mobility of your elbows, wrists, and shoulders to make adjustments and find balance. Once you’re comfortable with the balance, you can focus on locking out for a cleaner, more refined technique.
With that adjustment, Alberto managed to pull off several solid 5-second holds where he was fully in control.

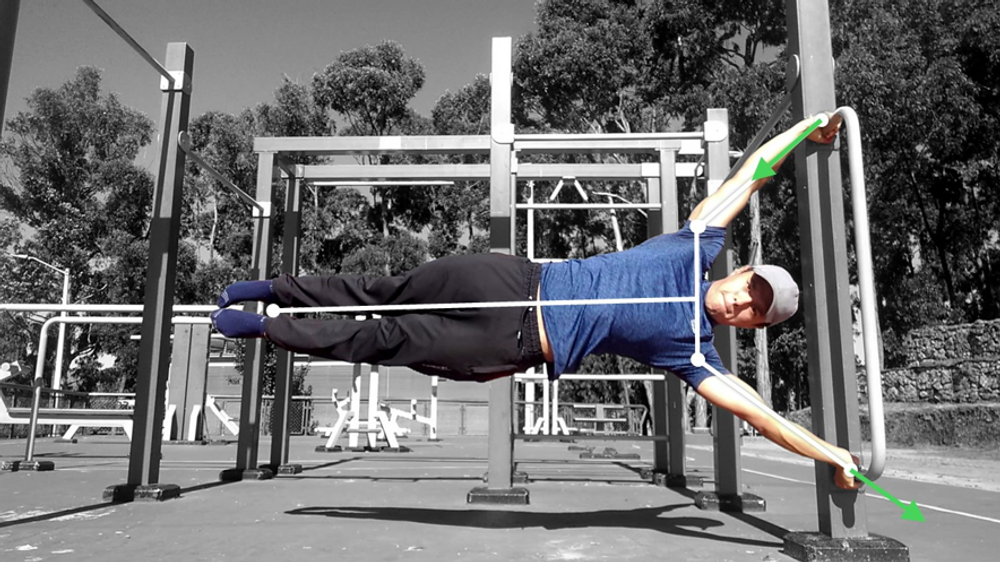
For Moi, the main adjustment was stopping the habit of walking on his hands. This is a pretty common crutch—it's a way to catch yourself when your weight shifts too far backward—but it actually holds you back because you’re not learning the proper way to adjust using your wrists and fingers.
When you’re in a handstand, whether on the floor or on parallettes, you have a bit of margin to press into the ground with your fingers and wrists. That’s the correct way to regain control when your balance starts tipping backwards.
Walking with your hands is another way to deal with that situation, but it’s considered a bad habit. It makes your attempts look sloppy and makes it much harder to progress to low or high parallettes, so it’s better to avoid it altogether.
One little trick to get better control is to place your fingers on the floor in a "claw" shape—slightly bending them instead of laying your hand completely flat.
Once Moi started using this technique and also began controlling a bit more through slightly bent elbows, he was able to hit several strong handstand holds too.

Finally, with Iñaki, we focused on learning an advanced variation: the handstand on a horizontal bar. In this case, the goal was to learn how to get up into the handstand slowly from either a frog position or a tucked handstand. I see this as a kind of “hack” that makes the movement much easier compared to launching into it.
With just that one trick, Iñaki managed to do a bar handstand of over 5 seconds within a few tries—no problem at all.
After the technical work, we went over the main strengthening exercises, because another key part of learning the handstand is that the stronger you are, the easier it becomes to control your balance. These are the exercises I recommend:

If you want to train with these exercises, I suggest taking a look at the handstand program I’ve created in the app—it will help you a ton!
I’m hoping to run another workshop with the team in the future and keep helping them progress, so they can be a reflection of everything we’re working toward with the app.
By Yerai Alonso
Personalized quiz
Answer 7 quick questions and we will recommend the program that fits you best.

Yerai Alonso
Cofundador de Calisteniapp, referente en calistenia y el street workout en Español. Con más de una década de experiencia, es creador de uno de los canales de YouTube más influyentes del sector. Autor del libro La calle es tu gimnasio, campeón de Canarias y jurado en competiciones nacionales e internacionales.
Join our newsletter
Learn everything you need to know about calisthenics
Discover what a calorie deficit is, how to calculate it based on your activity level, and how to apply it if you train calisthenics to lose fat without losing muscle.
Learn how to do the human flag step by step. Muscles involved, progressions from scratch, common mistakes, and a routine to achieve it.
We define what strict reps in calisthenics are, why they matter, and how to apply them to every exercise.