Calf Exercises in Calisthenics: Complete Equipment-Free Guide
Discover the best calf exercises in calisthenics to train at home without equipment. Standing calf raises, single-leg, elevated, and progressions.
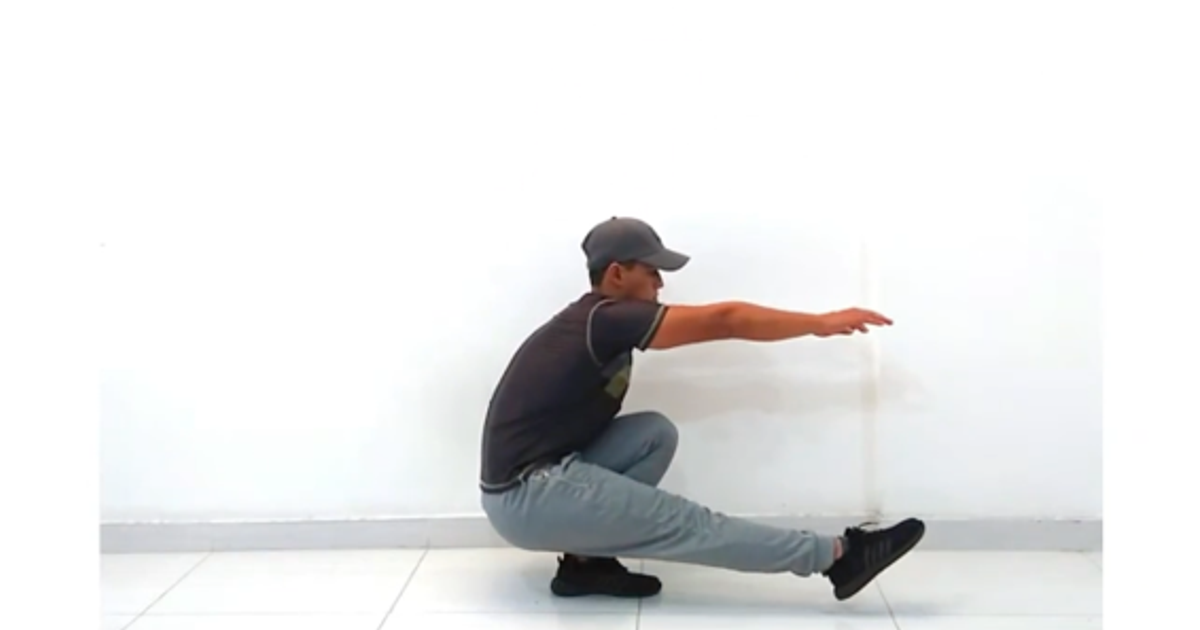
The pistol squat, or single-leg squat, is probably the most complete exercise for training your legs in calisthenics. Unlike a conventional squat, here you don't just need strength to lift your entire bodyweight, but also balance, mobility, and coordination to maintain good technique throughout the full range of motion.
In this article you'll learn which muscles the pistol squat works, what requirements you need to meet before training it, how to perform correct technique, the best progressions to get it from scratch, the most common mistakes, and how to improve the mobility needed to execute this exercise safely and efficiently.

The pistol squat is a deep single-leg squat, keeping the other leg extended in front of you and off the ground.
The pistol squat is an advanced bodyweight exercise, since it requires several physical capabilities:
Even though the pistol squat is a single-leg squat, that doesn't mean the other leg is just relaxed and doing nothing. In fact, it's quite the opposite. Some people fail at this exercise not because they lack strength in the squatting leg, but because they can't keep the other leg extended.
For this reason, we need to break down the muscles involved by leg.
As you can probably tell, the hamstrings aren't very active in the pistol squat. If you want to know why and learn the best exercises to strengthen them, check out the following blog article:
The only requirement I consider essential before training the pistol squat is being able to perform at least 10 to 20 controlled deep squats, meaning your hips drop below your knees.
Most beginners can handle the progressions I recommend for this exercise, so there really isn't a long list of prerequisites to start practicing it.
That said, being able to do 10 to 20 deep squats is the bare minimum, because it means you have a base level of leg strength and can squat all the way down without any issues.
Another condition I consider very important is not having any knee injury or pain. The early progressions I lay out in this article are relatively simple, but if you experience any kind of joint pain even with those, it's best to stop and see a professional, whether that's a doctor or a physical therapist.
Unlike a conventional squat, where you spread your feet and rotate them slightly outward, in the pistol squat both feet should stay together and point straight ahead so you can execute the exercise correctly.
I also recommend raising both arms in front of you to create a slight counterbalance, which will help you keep your balance.
Once you're in position, you'll perform the squat on one leg. The knee should stay well aligned with the foot. At the same time, you'll raise the free leg in front of you; the deeper you go, the higher you'll need to lift it.
Again, unlike a conventional squat, where you try to keep your torso as upright as possible, in the pistol squat your torso will lean forward slightly. This is completely normal, though. Otherwise, you'd lose your balance and fall backward.
In the bottom position you should be in a deep squat, with your whole foot fully planted on the ground, the free leg fully extended, and your arms raised in front of you.
At first, it's normal for the free leg not to be fully extended. It's also normal for some people to hold it with their hands to keep it from touching the ground. Keep in mind, though, that the end goal is to be able to perform the exercise without any assistance and with the leg fully extended.
Finally, you just need to return to the starting position by driving up through the squatting leg while simultaneously lowering the free leg.

The first progression on our list is the split squat.
This is the first exercise because it's basically a single-leg squat with assistance from the other leg. The goal is to start shifting a higher percentage of your bodyweight onto one leg.
To do this, step forward with one leg while keeping the other one back. Both legs should point forward, with the back foot resting on the toes. Lean your torso slightly forward and squat down in a vertical line.

The second progression is the reverse lunge.
This exercise is very similar to the previous one, with the difference that you start with both feet together. From there, you step backward and lower your body in one continuous motion, then return to the starting position in a single movement.
The third progression is the deficit reverse lunge. This means you'll perform the exercise standing on a low platform, whether that's a step or a low box.
The goal of this progression is to let you go deeper, increasing the range of motion and getting closer to that of the pistol squat.

The fourth progression is the step up.
From this point on, the goal is to start building strength using only one leg, without help from the other.
To do this, you'll use a medium-height platform, roughly knee height. You can use a tall step, a chair, or a medium box.
You'll place one foot on top of the platform and the other one close to it. Don't place the bottom foot too far away from the platform, or you won't be able to perform the exercise correctly. Then lean slightly forward and step up using only the strength of the leg that's on the platform.
A very common mistake is pushing off with the bottom foot to help yourself up. That's exactly why we start with a medium height.
To progress with this exercise, you'll increase the height of the platform or use taller and taller boxes, with the same goal of increasing range of motion.

The fifth progression is the box pistol squat.
At this point you should already have enough strength to perform a full single-leg squat. However, as I mentioned earlier, now you need to be able to do that squat while keeping the other leg raised.
That's exactly the goal of this exercise: letting you perform the pistol squat without having to lift the free leg as high.
Here you'll do the opposite of the previous exercise. To progress, you'll gradually lower the height of the platform or use lower and lower boxes. This way you'll progressively build the strength and hip mobility you need.


Once you've worked through each of the previous progressions, you'll be ready to perform your first pistol squat on the ground without any help or assistance.
If you want to learn many more calisthenics exercises to train all your leg muscles, check out the following article: Leg Exercises in Calisthenics: The Complete No-Equipment Guide
A very common mistake during the pistol squat is that, as you go down, your heel lifts off the ground. This usually happens because you don't have good ankle mobility and, as a result, you have to compensate by raising your heel. In the next section I'll explain how to improve this.
As I mentioned earlier, it's normal not to be able to fully extend the free leg at first. That said, it shouldn't be too bent either, since this reflects limited hip mobility. Further down I'll show you how to improve it to fix this mistake.
Your whole body should be facing forward. The foot shouldn't rotate outward, and the knee shouldn't collapse inward. Otherwise, not only will you fail to apply force optimally, but you'll also increase the pressure on your joints, which can cause pain or even contribute to an injury.
The pistol squat requires a good range of ankle dorsiflexion. Otherwise, this will be a major limiting factor when it comes to performing the exercise correctly.
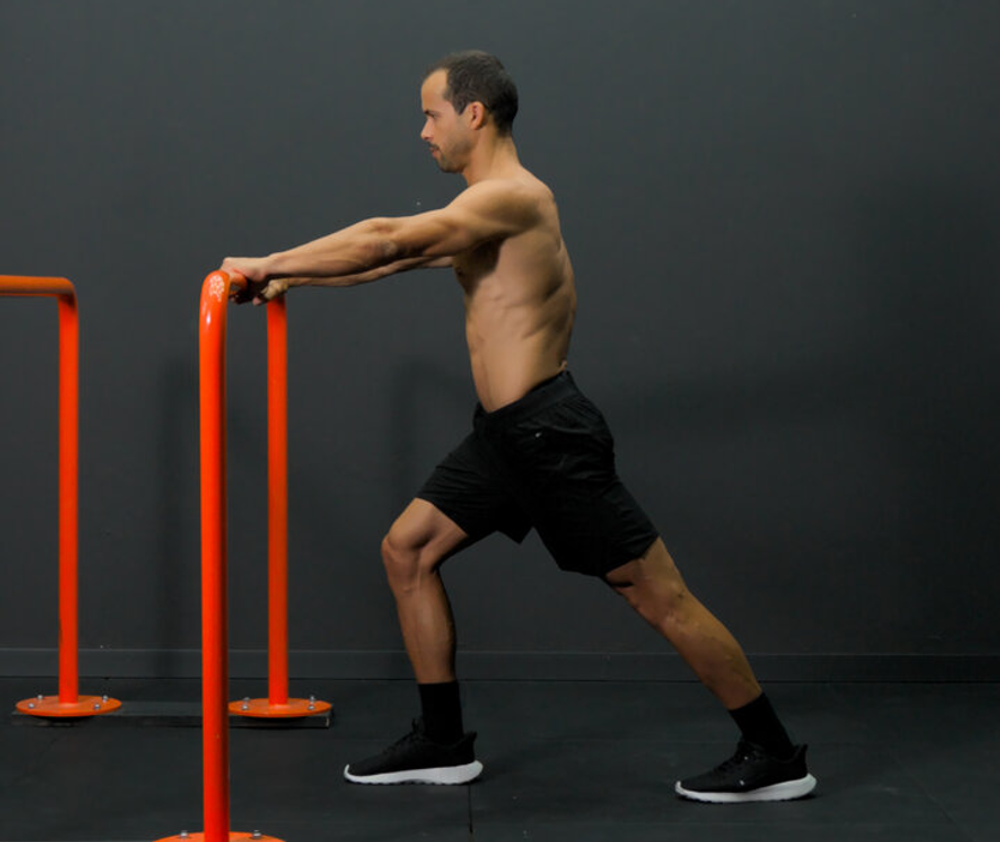
One way to improve ankle mobility is by increasing the flexibility of the gastrocnemius and soleus. To do this, you can perform the following calf stretch.

This involves placing the leg you're going to stretch behind you, so the whole sole of the foot stays flat on the ground and your legs form a diagonal line. The idea is to feel a strong stretch in the back of your leg.
Another way to improve ankle mobility is through the same progressions used for the pistol squat. The goal is to perform each exercise mimicking the actual pistol squat technique as closely as possible. For example, when doing the reverse lunge, don't step too far back with your rear foot, since that will put your knee far above your ankle, whereas in the pistol squat the knee goes past the toes.
The pistol squat also requires you to be able to lift the free leg and keep it extended so it doesn't touch the ground.
On one hand, you need good flexibility in the muscles of the posterior chain. For this, I recommend the following stretch.

On the other hand, you need your hip flexors to have strength at the end range of the movement, meaning they need to be able to lift a straight leg with the hip fully flexed. For this, I recommend the following exercise: hanging leg raises with hip flexion.

While the ideal routine to learn the pistol squat will depend on each person's level and specific context, the following routine is a great option for most people.
If you're looking for a much more complete plan for bigger, stronger legs, check out the Bigger Legs Program available on Calisteniapp.
Getting the pistol squat doesn't just come down to having strong legs. Mobility, balance, and good technique also play a key role. If you train with the right progressions and stay consistent, sooner or later you'll be able to perform this exercise correctly and safely.
If you want to keep building leg strength with a complete, progressive routine, Calisteniapp offers training programs designed for every level, along with hundreds of exercises with step-by-step explanations to keep improving your strength and skills in calisthenics.
Personalisierter Test
Beantworte 7 kurze Fragen und wir empfehlen dir das Programm, das am besten zu dir passt.
Abonniere unseren Newsletter
Lerne alles, was du über Calisthenics wissen musst
Discover the best calf exercises in calisthenics to train at home without equipment. Standing calf raises, single-leg, elevated, and progressions.
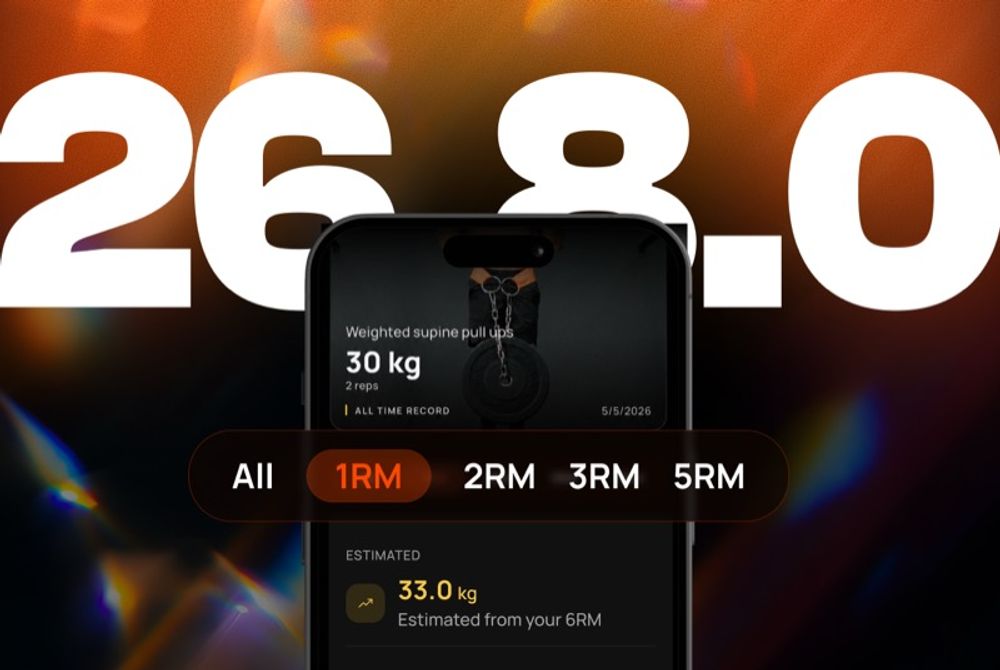
Discover what’s new in Calisteniapp versions 26.5 to 26.7: customised warm-ups, a load index, personal records, and photos in your logs.
Discover how to lose fat without losing muscle through calisthenics training. Nutrition strategies, moderate caloric deficit, and training for real body recomposition.