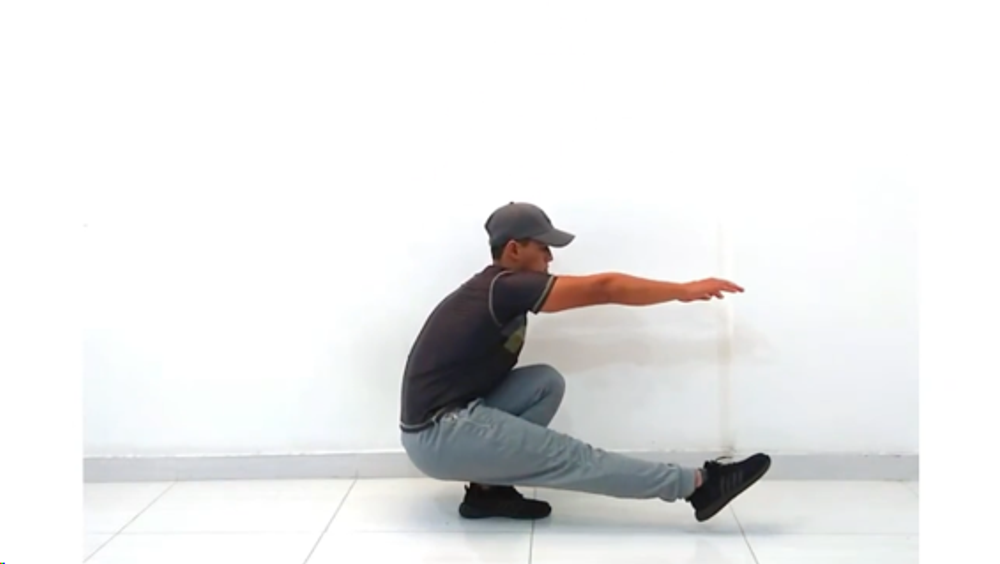
Pistol Squat: Technique, Progressions, and How to Get It From Scratch
Learn how to do the pistol squat step by step. Correct technique, muscles involved, common mistakes, and progressions from beginner to a full pistol squat.

Parallel bar dips are one of the most important pushing exercises in calisthenics. Despite their apparent simplicity, they are a fundamental movement for developing strength and muscle mass in the upper body, as well as being key to many more advanced progressions.
This exercise stands out because it doesn’t work just one muscle, but several muscle groups at the same time. The main muscles involved are the chest, anterior deltoid, and triceps, along with other stabilizing muscles that allow you to perform the movement efficiently and safely.
In this article, we’ll go over everything you need to know about parallel bar dips: what they are exactly, how to do them correctly, the most common mistakes, and all the variations of this exercise for each goal.

Dips are a basic calisthenics exercise that works the upper body. They consist of supporting your body on a set of parallel bars and pushing downward with your hands so that your body moves vertically.
Dips are very important because they train a basic movement pattern: the vertical downward push. Therefore, through this exercise, you will develop the strength and upper-body muscles responsible for performing this movement.
For this reason, the dip is one of the four main lifts in Streetlifting, along with the pull-up, squat, and muscle-up. Likewise, the dip is a prerequisite for the latter, since the muscle-up is the combination of an explosive pull-up and a bar dip.
In addition, dips are included in a wide variety of calisthenics routines for different goals: hypertrophy, endurance, explosiveness, etc.
In fact, the dip is such a basic and important exercise that it is not exclusive to calisthenics. This exercise is widely used by bodybuilders, Olympic weightlifters, CrossFit athletes, and many other sports disciplines.
The dip is a multi-joint exercise; this means it involves more than one joint at the same time. The main joints involved in this exercise are the shoulders and elbows.
The muscles responsible for movement at the shoulder joint are the pectoralis major and the anterior deltoid; and the muscle responsible for movement at the elbow joint is the triceps brachii.

However, secondary muscles must also be taken into account. At the scapular level, stabilizing muscles such as the lower fibers of the trapezius and serratus anterior, the pectoralis minor, and even the latissimus dorsi are involved.
In addition, depending on the technique used, there can also be significant involvement of the core muscles.
Before we begin, I want to emphasize that there is no single correct technique for dips, since this will mainly depend on your goals and your specific context.
Below, I’ll explain what can be considered the “standard” technique, but later on we’ll review some factors to keep in mind so you can choose the most appropriate technique for you.
For the starting position, your hands should be at a distance equivalent to shoulder width or slightly wider. Your elbows should be fully extended, unless you have a condition that prevents you from extending them completely.
With your arms straight, you should push down strongly, trying to move your shoulders as far away from your ears as possible. The rest of your body should remain straight and in a neutral position.
Once in position, you will begin to lower yourself while leaning slightly forward. During the movement, you should keep your whole body like a rigid block, without extending or flexing the spine or hips. Throughout the entire range of motion, your forearms should remain as vertical as possible.
The goal is to lower yourself at least until you form a 90° angle between your upper arm and forearm. Finally, you will push back up until you return to the starting position, keeping your body fixed throughout the entire repetition.

This could be considered a “neutral” technique, ideal for beginners who don’t want to overcomplicate things with too many technical details about how to perform the exercise.
However, there are many ways to perform dips for different purposes. So let’s review the different variables of this exercise and how they influence its execution.
The first variable is the distance between the hands, that is, grip width.
When dips are performed with a close or shoulder-width grip, the movement will mainly involve shoulder flexion (from back to front). Therefore, the anterior deltoid will play a slightly greater role (1).
When performed with a wider grip, there will be a slight component of shoulder adduction (from outside to inside), so the pectoralis major will have greater activation, mainly its lower fibers (1).
A wide grip is generally more unstable and stretches the chest more, which can increase the difficulty and risk of injury in beginners. However, it’s also important to consider that the range of motion is slightly shorter; this, together with greater chest involvement, can be beneficial for some more experienced athletes when preparing for calisthenics competitions.
The second variable is torso lean. This point should be analyzed as a spectrum: at one end, the body remains completely vertical and, at the other, it leans significantly forward.

What this variable does is redistribute the forces across the joints involved in the exercise.
For example, if you perform dips while keeping your body completely vertical at all times, your elbows will pass behind your hands. This makes the moment arm at this joint longer; while the shoulders are closer to the line of action of the force, so the moment arm at this joint will be shorter.
Therefore, in this case there will be a greater load on the triceps and a lower load on the chest and anterior deltoid.

In fact, you can lean backward and perform a movement that is almost exclusively elbow extension. This variation is known as the Impossible Dip, or “fondo imposible” in Spanish, because you have to lift your entire body weight using only the strength of your triceps. In this case, the main muscles will no longer be the chest and anterior deltoid, but the triceps and posterior deltoid.

If you want to learn this exercise, you can read the following article: Impossible Dip Tutorial - How to do the impossible dip
You can also find a complete Impossible Dip program in Calisteniapp: Impossible Dip Program
If, on the other hand, you lean quite far forward, the load will be greater on the shoulder muscles and there will even be a moment arm at the elbow, but oriented toward elbow flexion. This means that, in this case, the biceps and the other elbow flexors will be participating in the exercise.

If you want to better understand this whole topic of moment arms, why the biceps are present in a pushing exercise, and which exercises are best for this muscle group, I recommend the following article: Biceps Exercises in Calisthenics: Complete Guide Without Weights
In fact, if you analyze it closely, full planche push-ups are actually dips with the body leaned so far forward that it is completely horizontal and parallel to the floor.

However, body lean can also be modified without the entire body being completely aligned. For example, the exercise can be performed with the body in an “L” position, with the torso horizontal but the feet dropped.

A very similar posture is performing dips in a tuck planche position (tuck planche push-ups). In either case, the goal is to achieve a more horizontal torso, but with lower intensity.

As I explained previously, in the standard technique the body remains completely straight and in a neutral position. However, we can modify the overall posture of the body by changing the position of the pelvis and scapulae. In this way, we can organize dips along a spectrum ranging from Arch Body to Hollow Body.

At one end is the Arch Body. This posture occurs when the scapulae are retracted and the pelvis is tilted into anterior pelvic tilt; as a result, the spine is extended and, consequently, there is greater activation of the spinal erectors.
In addition, this posture increases the range of motion in shoulder extension, so the chest is more stretched. This greater stretch may be beneficial for hypertrophy of this muscle, according to recent research (2,3).

At the other end is the Hollow Body. This posture occurs when the scapulae are protracted and the pelvis is kept in posterior pelvic tilt; as a result, the spine is slightly flexed, so there is greater activation of the abdominal muscles.

In this case, the opposite happens: under the same 90° angle at the elbow joint, the chest will be less stretched. Therefore, this is a somewhat safer position for people with limited shoulder mobility.
All of this assumes that you maintain the posture throughout the entire repetition. However, not everything is black or white; some people use a hybrid technique that consists of:

Images taken from: @perecollfdz
This is the most commonly used technique in Streetlifting, since it allows you to lift the greatest amount of weight possible.
This is possibly because muscles are stronger during eccentric contraction. This allows the body, during the lowering phase, to maintain a more closed posture, which has two advantages:
However, during the concentric phase, the body transitions to a more open posture, since muscles have a greater ability to apply force at longer muscle lengths (length-tension relationship).
Finally, there are different techniques that combine several of these variables at the same time. Performing dips with a wide grip and the torso close to vertical is not the same as doing them with the torso leaned forward, close to horizontal.
Therefore, below I’ll show you the best techniques according to different goals.
Now let’s review the most popular dip variations. To do this, I’ll divide them into two categories: according to the equipment and according to the goal.
We’ve already reviewed dips on parallel bars. However, this exercise can also be performed on a bar (fixed bar) or on rings.

In this variation, since the bar is in front of the body, you can’t perform it like a standard dip by pushing vertically downward. Instead, you must lean your torso forward and push in a more horizontal direction.
Otherwise, the exercise becomes more unstable and you would be forced to perform a very short range of motion or adopt poor posture.

Korean dips are performed with the bar behind the body. Since the opposite happens here compared to the previous exercise, the body must be arched considerably.
In addition, because the body is in an unfavorable position to push strictly, this variation is generally performed using some swing.

This exercise is basically a classic dip, but performed on rings, which introduces greater instability during the execution.

This exercise consists of separating the rings widely at the lowest point and bringing them together at the highest point, performing a movement similar to chest flyes.
In this case, since the body is closer to vertical, the movement is more similar to shoulder adduction, mainly working the chest and even muscles such as the latissimus dorsi and teres major (1).

In this variation, one arm performs the dip normally, while the other remains fully extended. In this way, one arm supports a greater percentage of the body weight.
Now let’s review dip variations according to the goal, since this exercise is commonly used for different purposes: hypertrophy, maximum strength/Streetlifting, mobility, explosiveness, and coordination.
Before we begin, I want to clarify that standard or classic dips are already an excellent exercise for the chest, mainly for its lower fibers.
That said, if you wanted even more complete work for this muscle, you basically have to simulate the push-up movement as much as possible.
Therefore, you should perform the exercise with a greater torso lean, preferably in an “L” position or tuck position, with a wider grip and by retracting the scapulae.
Another very good option for the chest would be Bulgarian ring dips, but with a hollow posture.
Something similar happens here to the previous case; there really isn’t a big difference.
The only two small adjustments you could make to emphasize the anterior deltoid more are: using a closer grip and keeping the scapulae protracted, to slightly reduce chest involvement.
In this case, you must bring your elbows behind the line of your hands. Therefore, the body should remain completely straight and vertical, with a shoulder-width grip, maintaining this posture throughout the entire movement.
If your goal is not to work a specific muscle, but to lift as much weight as possible or compete in Streetlifting, the technique will be different.
To begin with, if you are going to compete, you must follow a series of rules. In competition, you cannot raise your hips or excessively arch your body, as the repetition would not be valid.
That said, if you comply with all the rules of the sport, the rest is up to you. It doesn’t matter whether you use a wide or close grip, or whether you keep your body neutral or in hollow.
If you respect each rule, you will have to adjust these aspects according to where you feel strongest and most comfortable. This will depend on variables such as your anatomy, previous experience, or injury history.
Even so, it is true that most of the best Streetlifting athletes use the hybrid technique I explained earlier.
Although this goal is not so common, some people use dips to improve mobility in the shoulder joint, since this exercise creates a good stretch in the chest and anterior deltoid.
To do this, you should perform dips in an arch body position, fully retracting the scapulae and arching the spine. This way, the shoulder extension angle will be greater.
That said, it is important to emphasize that this is a variation that requires a lot of caution. You should only do it if you can already perform several normal dips comfortably. In addition, it is recommended to perform it in a controlled way and without reaching muscle failure.
This is not an exercise aimed at maximum strength or hypertrophy, but at a different goal, so it should be trained as such.
For this goal, dips are performed as fast as possible, in order to develop explosive strength.

These consist of performing dips with enough speed for the hands to come off the bars.

In this variation, you perform a clap in the middle of each repetition without your feet touching the floor.

This variation consists of performing a 180° turn, so that the hands switch bars on each repetition.

This variation, also known as tiger bend dips, consists of placing the forearms on the parallel bars in the middle of each repetition.
This exercise is usually practiced both for its visual appeal and to improve the muscle-up transition, since it is a movement that requires quite a lot of coordination and can be complicated for beginners.
If you are interested in learning this variation, I recommend the following article: Tutorial: Elbow Dips and Push-Ups +ROUTINE

Finally, this variation consists of performing dips using momentum, swinging the body forward and backward.
You’ve now learned everything about dip technique and its variations. However, you may still not be able to perform even one full dip.
Don’t worry, because there are multiple progressions and methods that will allow you to achieve your first dip.
For this, I recommend the following article, where you’ll learn all the progressions, a four-week plan with different routines, common mistakes you should avoid, how long it may take you to achieve it, and how to progress once you get your first dip:
How to Do Your First Parallel Bar Dip
Parallel bar dips are a fundamental exercise in calisthenics, not only because of their ability to develop upper-body strength, but also because of their versatility. Throughout the article, we saw what they are, which muscles they work, and how to perform them correctly with a standard technique, in addition to analyzing the main variables such as grip width, torso lean, and body position. We also reviewed different variations according to equipment and goal — whether hypertrophy, strength, mobility, or coordination.
If you want to take your dips (and your training in general) to the next level, in Calisteniapp you’ll find structured programs, step-by-step progressions, and routines adapted to your level to improve your strength and technique efficiently. You can download it on Google Play or the Apple App Store.
References
Hik, F., & Ackland, D. C. (2019). The moment arms of the muscles spanning the glenohumeral joint: a systematic review.
Kassiano et al. (2023). Which ROMs lead to Rome? A systematic review of the effects of range of motion on muscle hypertrophy.
Wolf et al. (2023). Partial vs full range of motion resistance training: A systematic review and meta-analysis.
Personalized quiz
Answer 7 quick questions and we will recommend the program that fits you best.
Join our newsletter
Learn everything you need to know about calisthenics
Learn how to do the pistol squat step by step. Correct technique, muscles involved, common mistakes, and progressions from beginner to a full pistol squat.
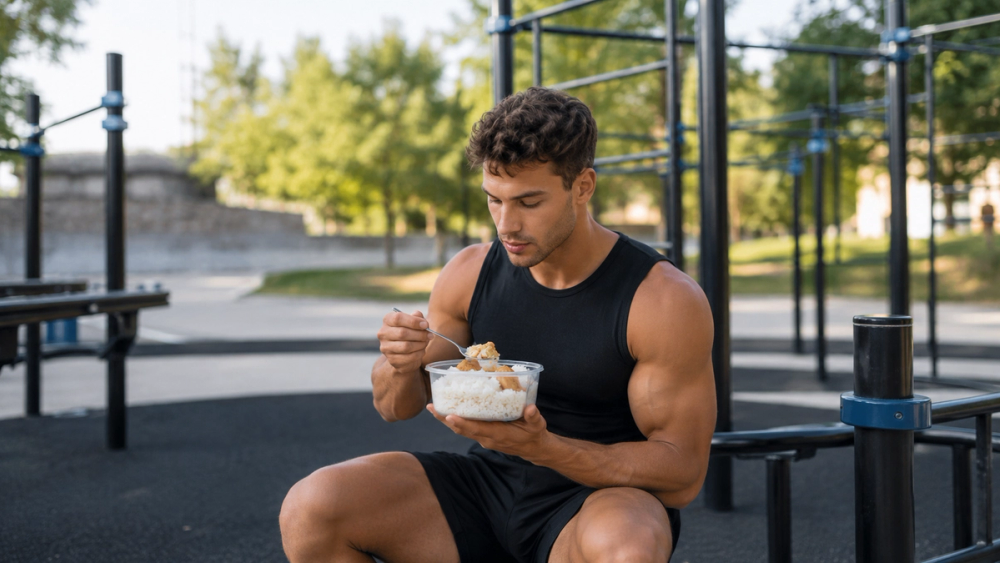
Discover what a caloric surplus is, how to calculate it correctly, and how to apply it if you train calisthenics to build muscle without piling on extra fat.
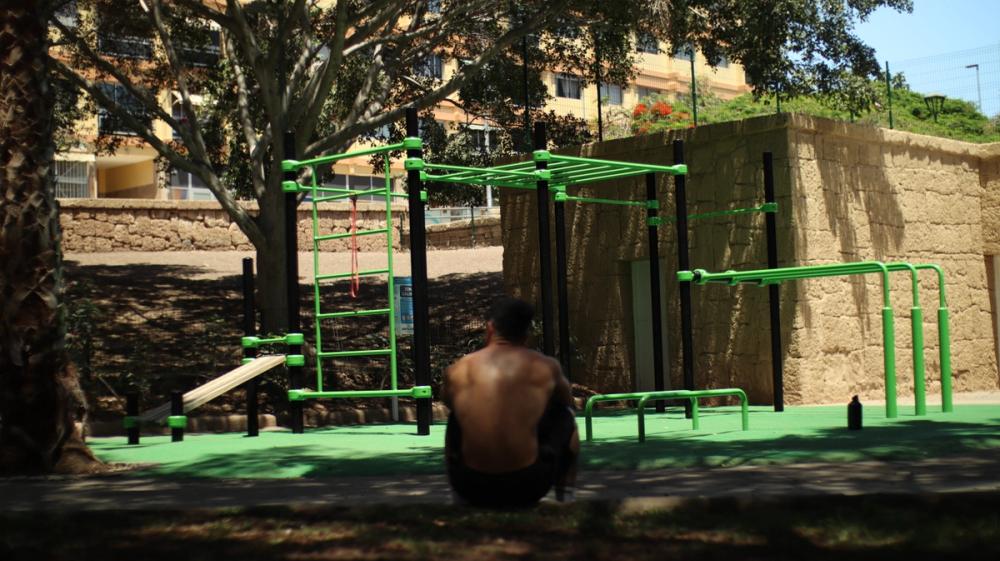
Discover what equipment a calisthenics park should have: bars, structures, stations, and key elements to train correctly.